Segment Work
Description
This section is from the book "Art And Education In Wood-Turning", by William W. Klenke. Also available from Amazon: Art And Education In Wood-Turning.
Segment Work
In order to turn large diameters so that there shall be practically no warping or changing of shape, and at the same time no sacrifice of strength, it will be necessary to use segments.
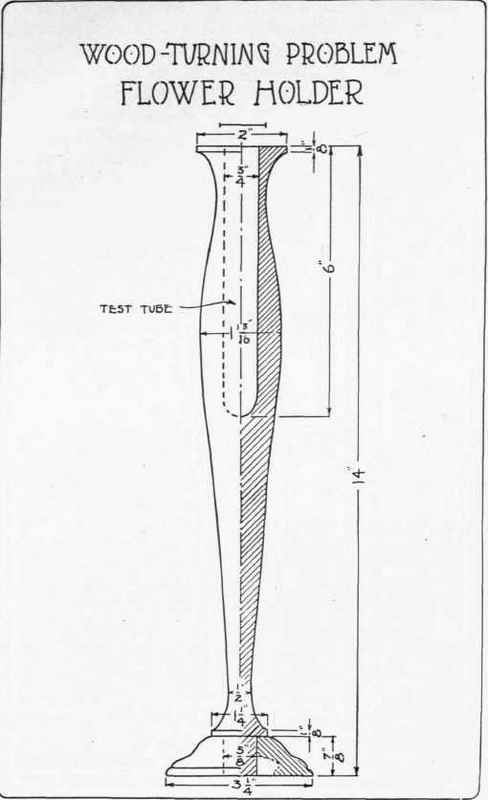
Plate XXVIII.
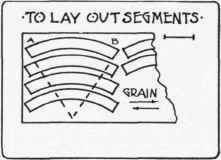
Fig. 52.
From Fig. 52 it will be noticed that the segments run with the grain of the wood, this, of course, being of the greatest importance, as otherwise no strength would be gained.
The theory of segment work is similar to that of a butt joint with a cleat fastened on each side. This form of joint is used every day in carpentry work. By "breaking the joints," as it is called, we have all parts of equal strength, and when thoroly glued together, the work is stronger than a solid piece. As will be shown, an odd number of courses always proves most efficient.
There can be no set rule governing the correct number of segments for each course; small circles are usually made of three segments, whereas for about a 12" diameter, six segments will be necessary, and so on, always remembering that to avoid end grain, the segments will need to be smaller. For the problems given in this book, six segments will suffice.
In starting segment work, it will first be necessary (a) to true up a piece of good white pine to the desired diameter, (b) Onto this pine the segments are glued and held in place until all turning and finishing have been completed. For six segments, (c) step the radius around the circumference six times and join these points with lines to the center. The lines just drawn will indicate the joints for the first, third and fifth courses, and so on according to the number of courses, (d) Divide each space in half, and again draw lines to the center to indicate the joints for the second, fourth and sixth courses, etc.

Fig. 53. Segment Work Being Glued.

Plate XXIX.
Fig. 53 illustrates a good method for holding the work while gluing the segments in place. A piece of about 2" square stock is turned at one end to fit the thread part of the face-plate, leaving the square part for clamping in the vise. The greatest of care must be exercised to clamp the segments flat, making a tight joint all around. To do this, the shoulder spindle of the handscrew is tightened first, throwing the jaws slightly out of parallel, when a last turn or two on the end spindle will bring them to their correct position.
(a) The joints of segment No. 1 (segment No. 1 is the first segment to be put in place) are cut to correspond with the lines drawn on the pine stock and glued in place, cleaning away all glue from the end grain, (b) Fit segment No. 2 to make a tight joint with No. 1, at one end, and to correspond with the line on the other end. (c) Now size one end of No. 1 and No. 2 with the glue. After allowing the sizing to set for a few minutes, (d) glue No. 2 in place, forcing the joints together until absolutely tight, (e) Clean away the glue again on the other end of No. 2, and so on until the last segment is fitted. Fig. 54 illustrates the quickest and best method for getting a tight fit on No. 6 at both ends. After the necessary marks have been made, trim to the outside of the lines; if this is properly done, a tight joint will result.
Allow not less than three hours for the glue to set before attempting to turn the work. Working on slow speed, (a) face up the first course of segments to the desired thickness and (b) clean up the outside and inside diameters just a little, (c) Now mark out the second course and continue as with the first. When all the courses have been glued in place, (d) do all necessary turning and finishing.
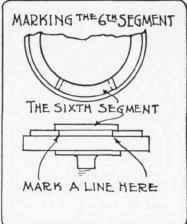
Fig. 54.
Continue to:
My Books

