Tools And Their Uses. Part 2
Description
This section is from the book "Carpentry for Boys", by J. S. Zerbe. Also available from Amazon: Carpentry for Boys.
Tools And Their Uses. Part 2
Cross-Cuts
The difference between a cross-cut and a rip saw is, that in the latter the teeth have less pitch and are usually larger than in the cross-cut saw. The illustrations (Figs. 13 and 14) will distinctly show the difference in the teeth. When a cross-cut saw is used for ripping along the grain of the wood, the teeth, if disposed at an angle, will ride over the grain or fiber of the wood, and refuse to take hold or bite into the wood. On the other hand, if the rip saw is used for cross-cutting purposes, the saw kerf will be rough and jagged.
 Fig. 5.
The back saw is used almost exclusively for making tenons, and has uniformly fine teeth so as to give a smooth finish to the wood.
Planes
The plane may be called the æsthetic tool in the carpenter's kit. It is the most difficult tool to handle and the most satisfactory when thoroughly mastered. How to care for and handle it will be referred to in a subsequent chapter. We are now concerned with its uses only. Each complete kit must have three distinct planes, namely, the jack plane, which is for taking off the rough saw print surface of the board. The short smoothing plane, which is designed to even up the inequalities made by the jack plane; and the long finishing plane, or fore plane, which is intended to straighten the edges of boards or of finished surfaces.
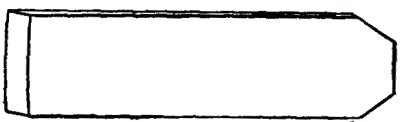 Fig. 6. Jack plane bit
The Jack Plane
This plane has the cutting edge of its blade ground so it is slightly curved (Fig. 6), because, as the bit must be driven out so it will take a deep bite into the rough surface of the wood, the curved cutting edge prevents the corner edges of the bit from digging into the planed surface.
On the other hand, the bits of the smoothing and finishing planes are ground straight across their cutting edges. In the foregoing we have not enumerated the different special planes, designed to make beads, rabbets, tongues and grooves, but each type is fully illustrated, so that an idea may be obtained of their characteristics. (Fig. 6a).
Gages
One of the most valuable tools in the whole set is the gage, but it is, in fact, the least known. This is simply a straight bar, with a sharpened point projecting out on one side near its end, and having an adjustable sliding head or cheekpiece. This tool is indispensable in making mortises or tenons, because the sharpened steel point which projects from the side of the bar, serves to outline and define the edges of the mortises or tenons, so that the cutting line may readily be followed.
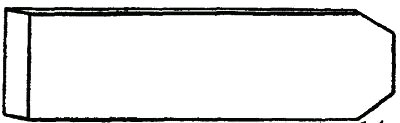 Fig. 6a. Fore-plane bit
This is the most difficult tool to hold when in use, but that will be fully explained under its proper head. Each kit should have two, as in making mortises and tenons one gage is required for each side of the mortise or tenon.
Continue to:
My Books

