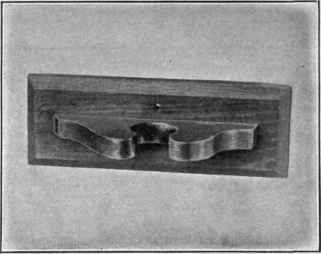
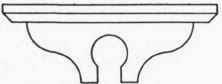
Broom Holder
Description
This section is from the book "Shop Projects Based On Community Problems", by Myron G. Burton. Also available from Amazon: Shop Projects Based on Community Problems.
Broom Holder
Materials
Yellow Pine (Chap. III.,
Par. 48) or any soft wood.
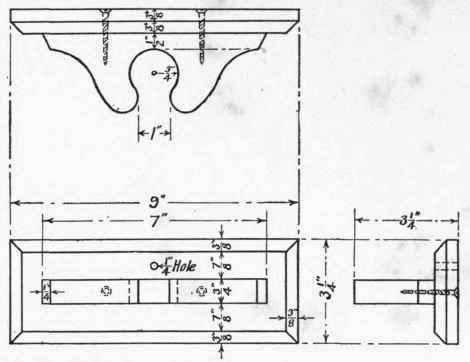
1 pc. 3/4"x3 l/2"x9 1/2" S 2 S
Back. 1 pc. 3/4"x3"x8" S 2 S
Hanger. 2-I 1/2" No. 10 F. H. B.
screws.
Introductory Statement
The most usual place to find a floor broom is leaning somewhere in a corner with its weight resting on the straw. This helps to explain why so many brooms have their straws bent out of shape and in a poor position to do good work. If a damp broom is left standing with the weight on the straw it will quite likely be bent and when dry will remain in that unsatisfactory shape.
This illustration shows a broom holder which not only furnishes a place where the broom should always be found, but also avoids the difficulty just explained.
Some people claim that a broom should hang with the straw down in order to prevent any moisture which might be in it from draining into the body of the broom. This is not an important matter, for a broom should never be wet enough to drip when hung up.
References:
Brushes and Brooms, International Encyclopedia.
How to Make Common Things, J. A. Bower. E. S. Gorham, Pub.
Manual Training for Common Schools, Allen & Cotton. Manual Arts Press, Peoria, 111.
Handwork for Boys, Pabst.
Broom Corn, Young Folks' Cyclopedia of Common Things, by Champlin. Henry Holt & Co.
The Book of Useful Plants, Julia Rogers. Doubleday, Page & Co., New York.
The Basket Maker, Luther W. Turner. Atkinson, Mentzer & Co., Chicago.
The Story of Lumber, Sara W. Basset. Penn Pub. Co.
Broom Holder
Suggestions For Original Design
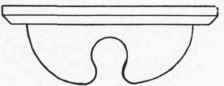
No.1
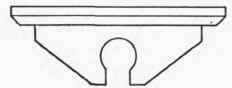
No.2
No.3
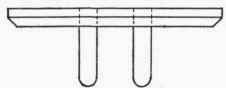
No.4
Broom Holder Specifications
The Back
As this material is furnished S 2 S, it will not be necessary for you to plane the surface. It should, however, be carefully smoothed with sandpaper (Chapter II., Paragraph 17). Select one surface for a working face (Chapter II., Paragraph 2). Plane one edge perfectly straight and square with the working face; mark this the working edge (Chapter II., Paragraph 4); prepare a working end (Chapter II., Paragraph 5). From the-working end measure and cut the length given in the drawing. Carefully gauge the width on both surfaces (Chapter II., Paragraph 6); plane to the gauge line. With a lead pencil and ruler (Chapter II., Paragraph 7), or with the lead pencil and finger (Chapter II., Paragraph 8), carefully gauge for the chamfer. As this chamfer is to be cut entirely around this piece of material, you must gauge for it on all edges and entirely around on the working face. Form the chamfer by planing to these gauge lines (Chapter II., Paragraph 19). In planing a chamfer always be sure to leave sharp, well-defined corners. Do not give it a rounded appearance.
Continue to:
My Books

